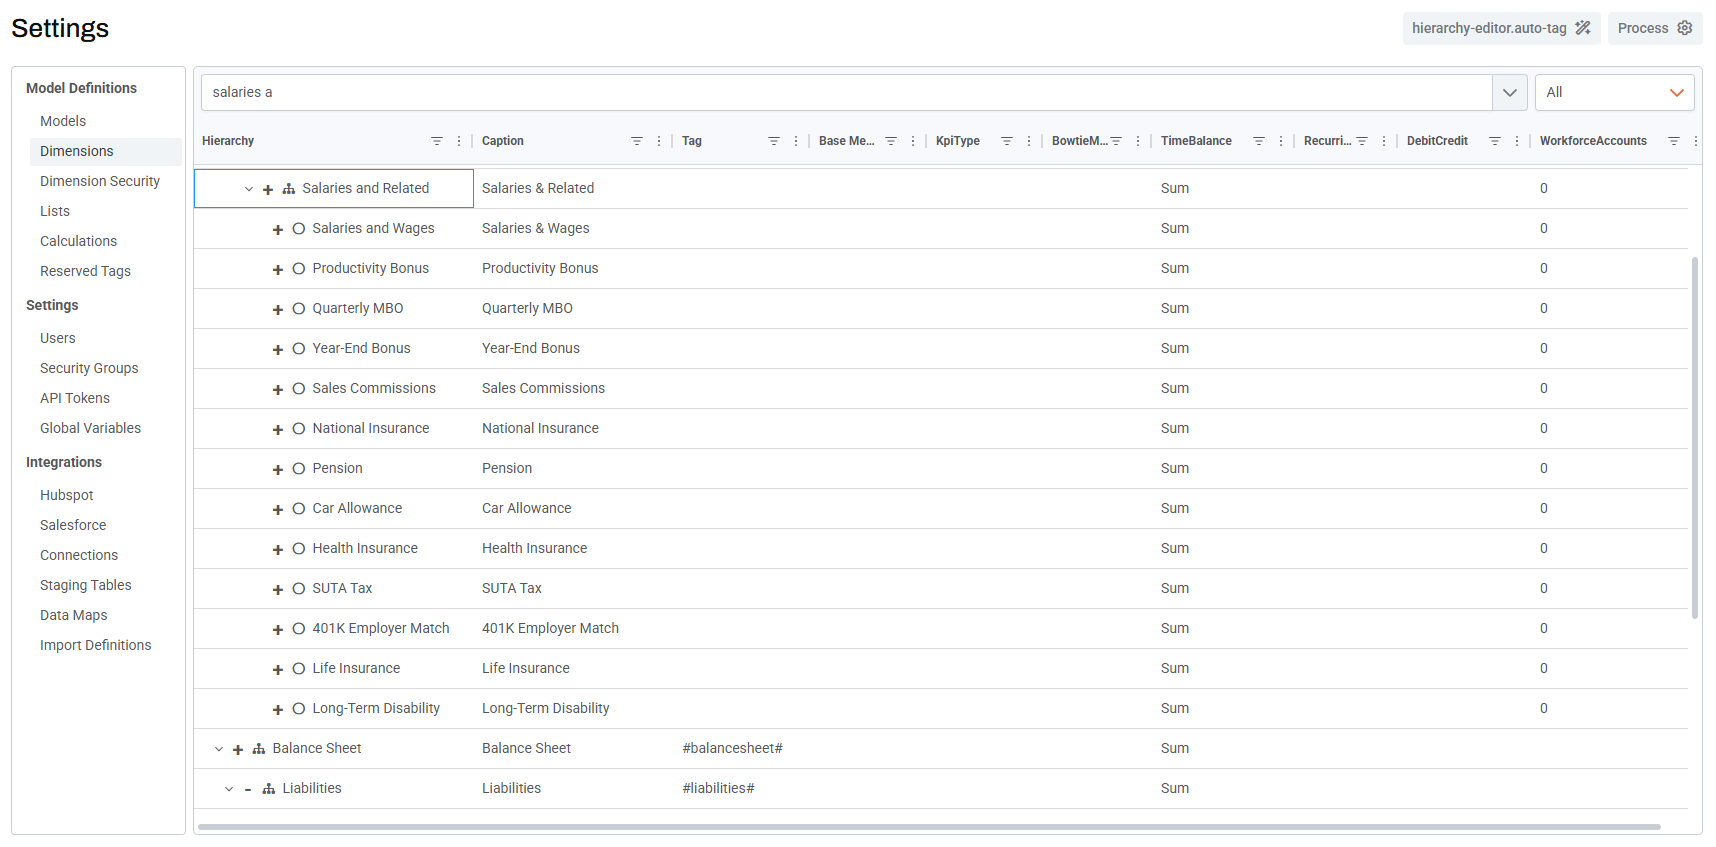
Dimensions
Under the Dimensions section, you can Import, Export, and Add new Dimensions using the buttons in the top-right of the screen. The export file contains the full list of all current dimensions and hierarchies. If you need to make large-scale changes, you can edit the file directly and then reimport it to update the dimensions in the system.
Another way to manage Dimensions is through the Dimension Member Editor, seen when you click on a Dimension already created. This component is used to edit members of a given dimension or dimension-hierarchy.

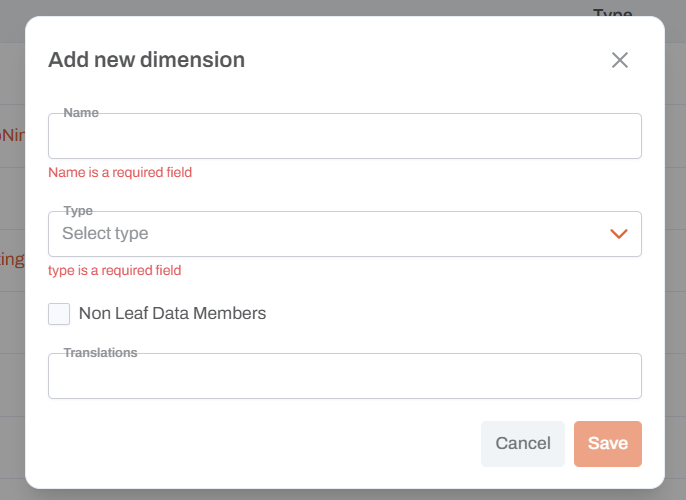
Adding a new dimension
To add a new Dimension, click on the "Add new +" button. A model should appear where you can define the name of the dimension, type (relevant for dimension roles, if not specificly defined the type should be Segment), whether non-leaf members will be written to, and any translations. Once saved, the dimension will get created.
Defining the default read/write member
When a Dimension gets created, it is automatically given a default read and write member as seen when clicking on this icon (![]() ) inline with a specific dimension. The best practice is to configure the first key in each dimension as None. This ensures that the system always has a default write member available, which helps maintain consistency when data is written.
) inline with a specific dimension. The best practice is to configure the first key in each dimension as None. This ensures that the system always has a default write member available, which helps maintain consistency when data is written.
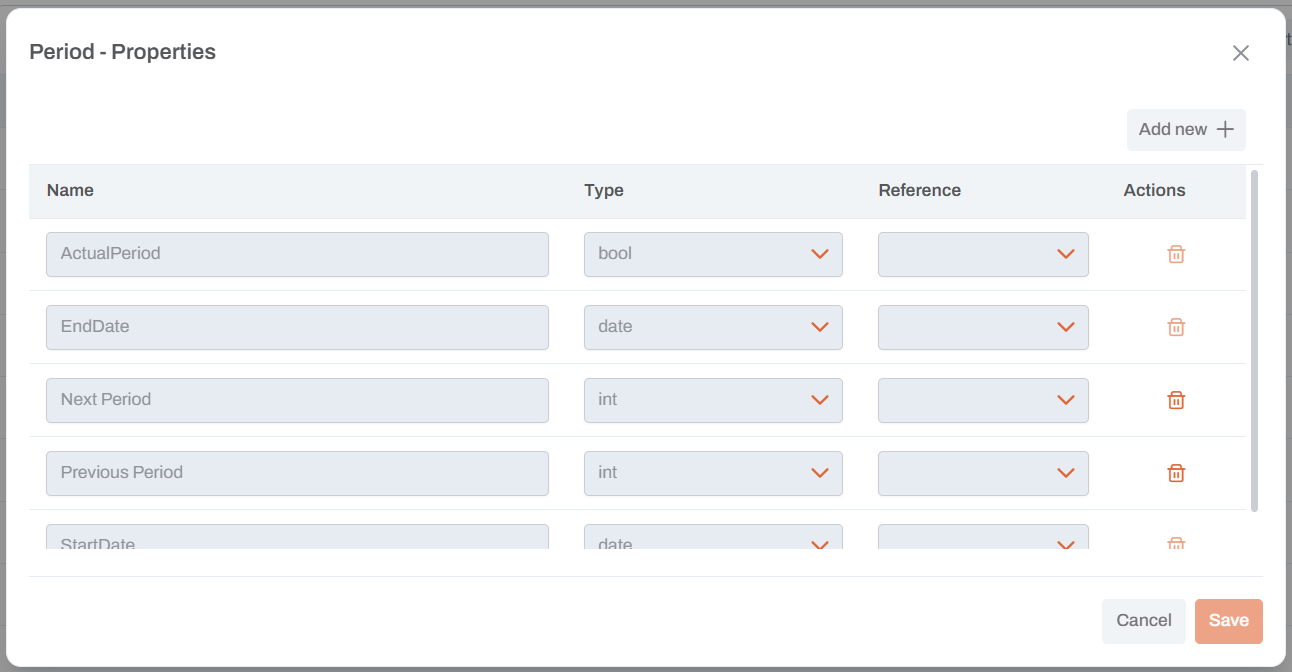
Creating properties
Setup
- Go to
Settings > Dimensions - Under the desired dimension, select the
<>icon - click
[+ Add New] - Fill out Name and Type, and Reference if applicable
- Once a property has been created, you can add it to specific members.
- Click
[Done] - Under Models, click
[Process]
Implementation on a Dashboard
- Add a dataset in a matrix widget
- Click
[Edit Query] - For the corresponding dimension, when selected, a Properties field will appear
- In the dropdown, select the property you want to apply

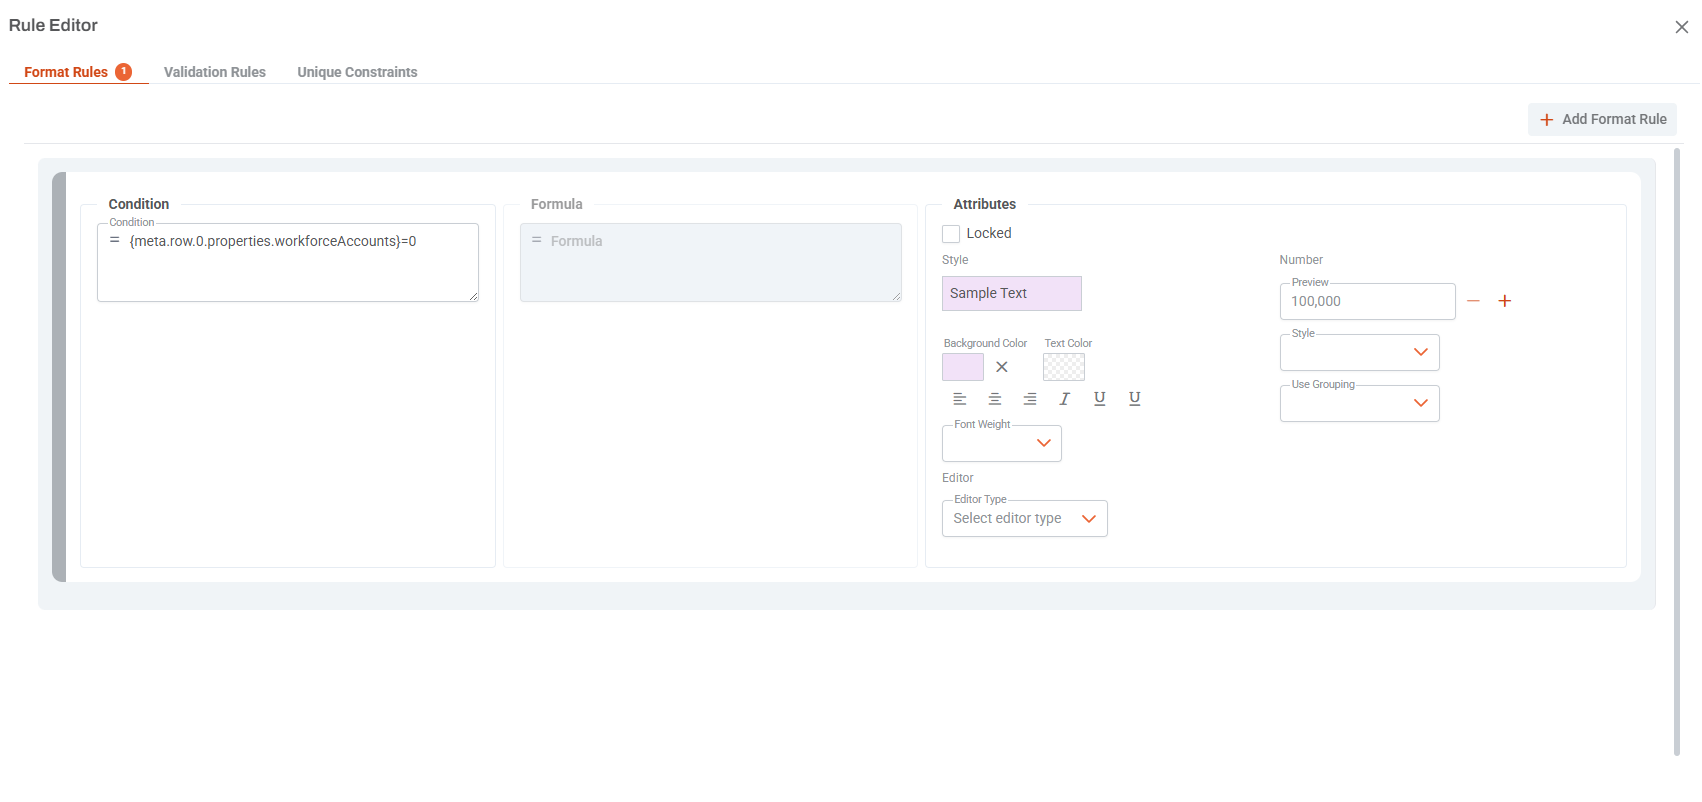
Conditional Formatting Based on Property
Under the corresponding section, such as Data, create a rule, i.e.:
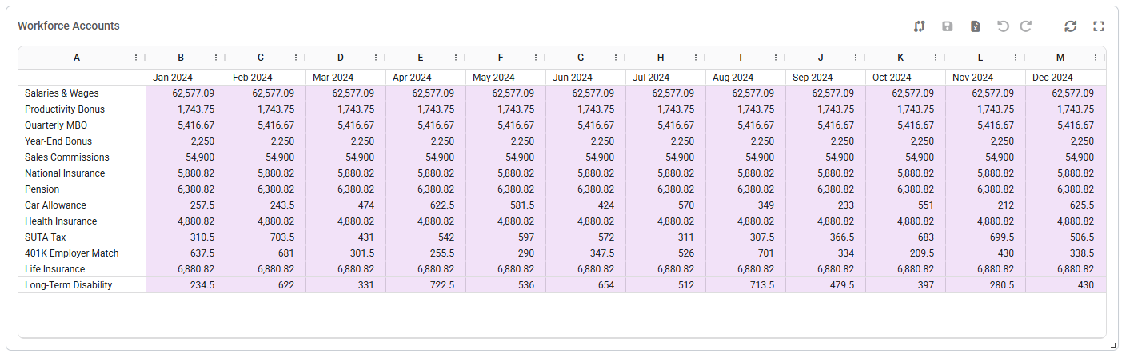
{meta.row.0.properties.workforceAccounts}=0
Make sure the property name uses camel case. For example, instead of WorkforceAccounts, use workforceAccounts.
Rule:
Result:
Deleting a dimension
The trash can icon inline with a dimension allows the dimension to get deleted when clicked. If a dimension is already added to a model, then the icon will be muted and unclickable. To unmute the icon, the dimension would need to be removed from the model first under the Model section in Settings.